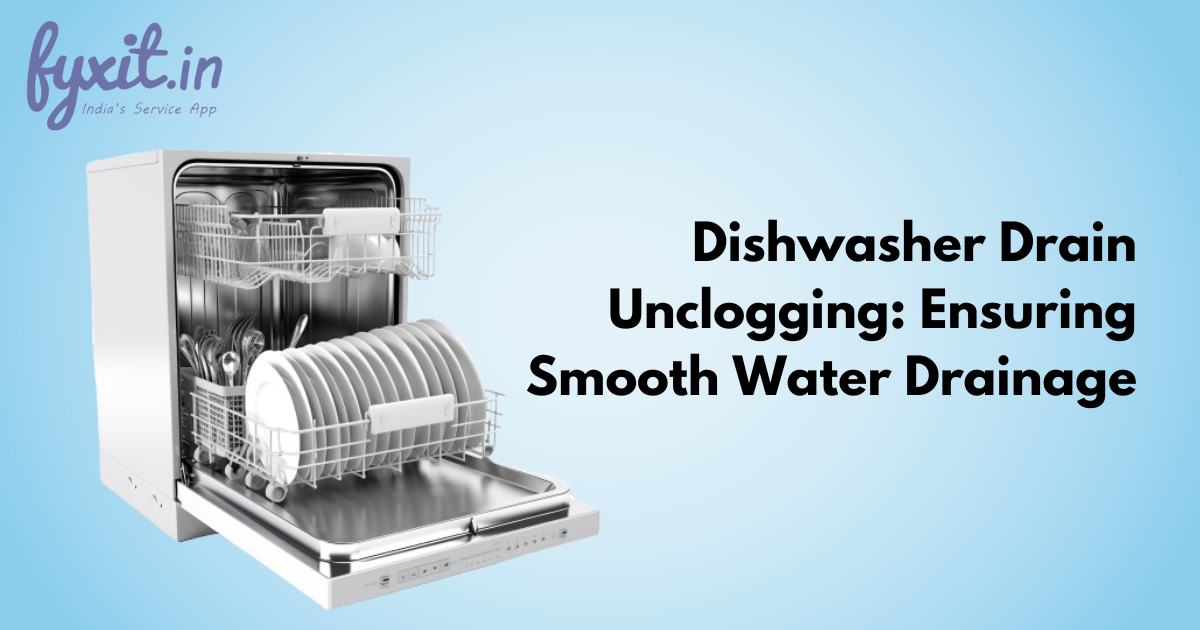
Your dishwasher is a workhorse in the kitchen, tirelessly cleaning your dishes day after day. But did you know that it also needs regular cleaning to ensure it performs at its best? Over time, dishwashers can accumulate grime, develop unpleasant odors, and even leave food residue on your supposedly clean dishes. A little maintenance can go a long way in keeping your dishwasher running smoothly and your dishes sparkling. In this guide, we’ll walk you through the steps for a DIY dishwasher cleaning to remove grime, odor, and food residue.
Highlights
- Regular Maintenance is Crucial: Cleaning your dishwasher regularly is essential for optimal performance and hygiene.
- Gather the Right Supplies: Before starting, ensure you have vinegar, baking soda, a toothbrush or soft brush, a sponge, and a cloth or towel on hand.
- Clean the Filter: The dishwasher filter traps food particles and should be removed, cleaned, and reinstalled periodically.
- Address Spray Arm Clogs: Check and clean the spray arms to ensure water can flow freely, enhancing cleaning efficiency.
- Thoroughly Wipe Down the Interior: Pay attention to the interior walls, door, and rubber gasket, which can accumulate grime, debris, and odors.
- Run an Empty Cleaning Cycle: Using vinegar or baking soda in an empty cycle helps deodorize, sanitize, and remove residue from hidden areas.
- Check the Drain: Ensure the dishwasher’s drain is clear and functioning correctly to prevent water from pooling at the bottom.
- Inspect Seals and Components: Regularly check door seals and other components for signs of wear or damage to prevent leaks and maintain efficiency.
Table of Contents
Why Clean Your Dishwasher?
Before diving into the cleaning process, it’s essential to understand why cleaning your dishwasher is necessary. Over time, food particles, grease, and soap scum can build up in the various components of your dishwasher. This accumulation can lead to several issues, including:
- Efficiency: A clean dishwasher operates more efficiently, meaning cleaner dishes and lower utility bills. When filters and spray arms are clogged with debris, your dishwasher has to work harder.
- Odor Prevention: Food particles and grease can accumulate in your dishwasher, leading to unpleasant odors that can transfer to your dishes.
- Hygiene: A dirty dishwasher can become a breeding ground for bacteria and mold, potentially compromising your family’s health.
- Prolonged Lifespan: Regular cleaning can extend the lifespan of your dishwasher, saving you money on repairs or replacements.
Now that you understand the importance of dishwasher maintenance, let’s get into the steps for a thorough DIY cleaning.
Step 1: Gather Your Supplies
To clean your dishwasher effectively, you’ll need a few basic supplies:
- White vinegar
- Baking soda
- A soft brush or toothbrush
- A microfiber cloth
- A small bowl or cup
- Dish soap
- Toothpicks or wooden skewers
- Rubber gloves (optional)
Step 2: Empty the Dishwasher
Start by removing all dishes, racks, and utensil holders from the dishwasher. Check the bottom for any large food debris or objects that might be obstructing the drain.
Step 3: Clean the Filter
Most dishwashers have a filter that traps food particles and prevents them from clogging the drain. Locate the filter, which is usually at the bottom of the dishwasher, and follow these steps:
- Remove the Filter: Gently twist or lift to remove the filter. Be prepared for some unpleasant sights and smells.
- Rinse the Filter: Rinse the filter under warm running water to remove loose debris. Use a soft brush or toothbrush to scrub away any stubborn residue.
- Soak in Vinegar: Fill a small bowl or cup with white vinegar and let the filter soak for about 10-15 minutes. Vinegar is excellent at breaking down grease and mineral deposits.
- Rinse Again: After soaking, rinse the filter thoroughly under warm water and ensure there is no vinegar odor left.
- Reinstall the Filter: Carefully place the clean, dry filter back into its original position.
Step 4: Clean the Spray Arms
The spray arms are responsible for distributing water throughout the dishwasher. Over time, they can become clogged with food particles. Here’s how to clean them:
- Remove the Spray Arms: Depending on your dishwasher model, you may need to unscrew or detach the spray arms. Refer to your dishwasher’s manual for instructions.
- Check for Clogs: Inspect the spray arms for clogs. Use a toothpick or wooden skewer to dislodge any debris from the spray holes.
- Soak in Vinegar: Similar to the filter, you can soak the spray arms in a bowl of white vinegar for about 15 minutes to dissolve mineral deposits.
- Rinse Thoroughly: Rinse the spray arms with warm water, ensuring that all vinegar and debris are removed.
- Reattach or Reinstall: Carefully put the spray arms back in their place and secure them according to your dishwasher’s instructions.
Step 5: Wipe Down the Interior
Now it’s time to clean the interior of the dishwasher:
- Dampen a cloth: Wet a microfiber cloth with a mixture of equal parts white vinegar and warm water. Wipe down the interior walls, door, and the rubber gasket around the door.
- Pay Attention to Seals: Pay extra attention to the seals and crevices where food particles and grime can accumulate.
- Scrub Away Stains: For stubborn stains or buildup, you can use a soft brush or toothbrush dipped in a mixture of baking soda and water to scrub away the grime.
Step 6: Run a Cleaning Cycle
To ensure that your dishwasher is thoroughly cleaned, run an empty cycle with a cleaning solution. You can choose one of the following methods:
Method 1: Vinegar Wash
- Place a cup of white vinegar on the top rack of the dishwasher.
- Run the dishwasher on its hottest and longest cycle. The vinegar will help dissolve any remaining mineral deposits and odors.
Method 2: Baking Soda Wash
- Sprinkle a cup of baking soda across the bottom of the dishwasher.
- Run a short, hot water cycle. This will help deodorize and further clean the interior.
Step 7: Final Touches
After the cleaning cycle is complete, there are a few final touches to ensure your dishwasher is fresh and ready for use:
- Check the Drain: Examine the drain area once more to ensure it’s free of any debris.
- Inspect Seals: Double-check the rubber seals for any remaining residue or mold. Wipe them down if necessary.
- Replace Racks and Utensil Holders: Return all the dishwasher racks and utensil holders to their places.
- Run a Rinse Cycle: You can run an additional short cycle with a cup of white vinegar to ensure there are no remaining odors.
Regular Maintenance of Dishwasher
To keep your dishwasher in top shape, consider the following maintenance tips:
- Scrape off large food particles from dishes before loading them into the dishwasher.
- Run the hot water tap at the kitchen sink before starting the dishwasher to ensure it begins with hot water.
- Occasionally check the dishwasher’s spray arms and clean any clogs or debris.
- Inspect the dishwasher’s gasket (seal) for signs of wear or damage and replace it if necessary.
With these steps, your dishwasher should be sparkling clean and ready to tackle your next load of dishes. Regular cleaning and maintenance will help prolong the life of your appliance and ensure your dishes come out clean and odor-free every time.